 Opening Screen For HyperStudio 4
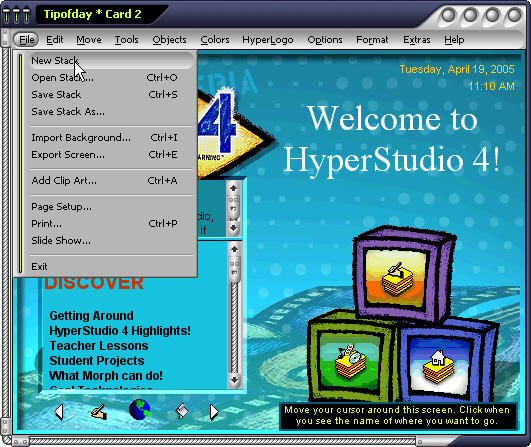 Creating a New Stack Creating a New Stack |
Getting Started 1. Open up HyperStudio and click on New Stack |
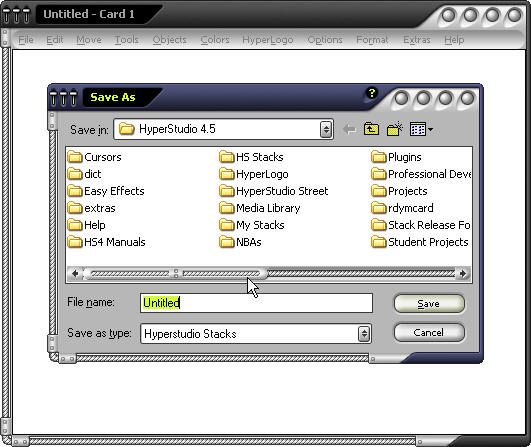 Save Your Stack Save Your Stack |
2. Click on File and select Save Stack. 3. Give your stack a name and save it into HyperStudio Folder. |
|
|
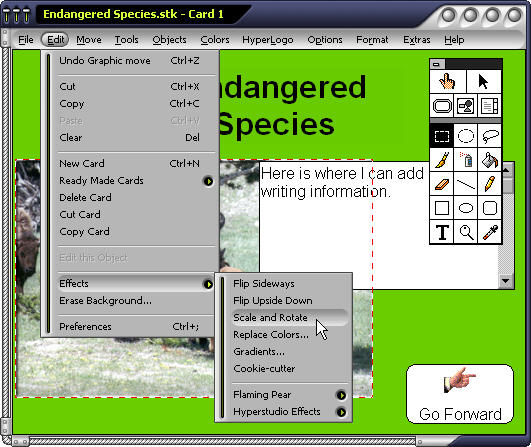
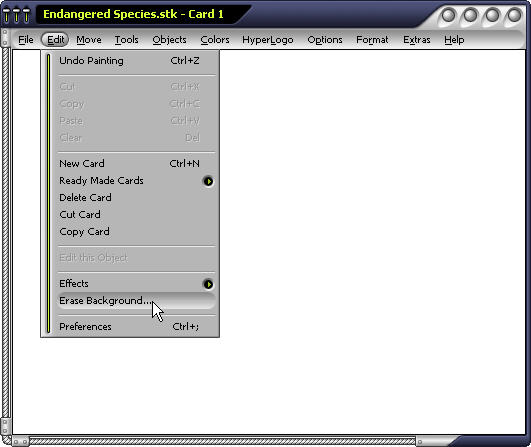
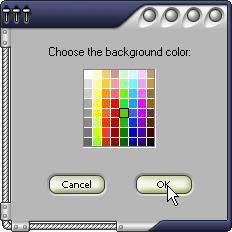
Adding Background and a New Card: 4. Click on Edit Menu and choose Erase Background. 5. Select a color for your background and click OK. |
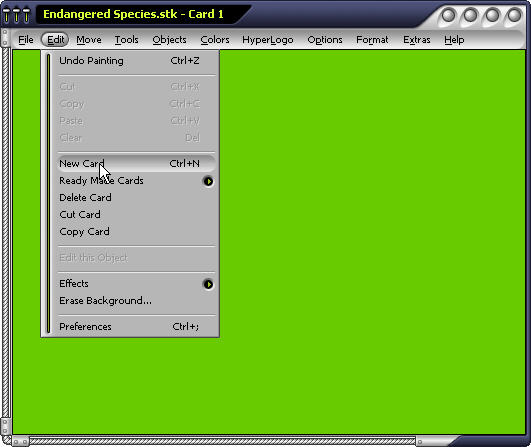 Add a New Card Add a New Card |
6. Click on Edit and choose New Card. 7. Select a color for your background and click OK. |
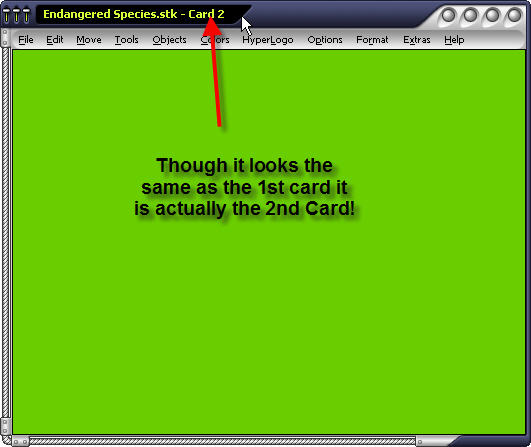 Though it looks like Card 1, it is Card 2 Though it looks like Card 1, it is Card 2 |
|
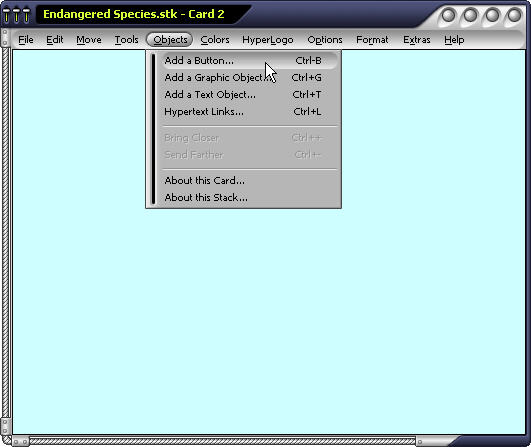 Add a Button Add a Button |
Adding a Button: 8. Click on the Objects Menu and choose Add A Button. 9. Under Type select the top right button. 10. Next to Name type Go Back. |
|
11. Click on Show Icon and select hand pointing towards the left and then click on OK. 12. Choose a color for your Name and a color for your background and then click OK 13. Click OK again. |
|
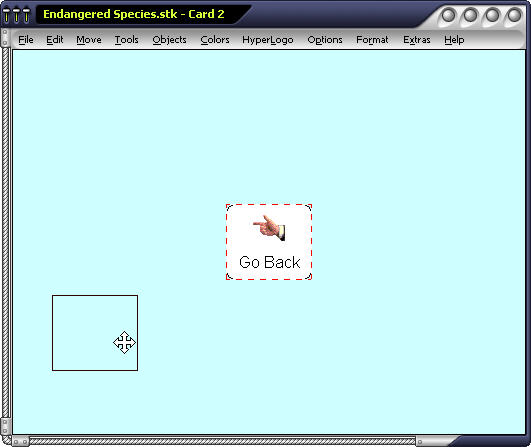 Drag the Button to the Corner Drag the Button to the Corner |
14. Place your pointer in the middle of the box and while holding the mouse button down, drag the button to the bottom left hand corner. 15. Click outside of the button. 16. Under Places to Go select Previous card. 17. In the Transitions box choose Rain and then click OK and then Done. |
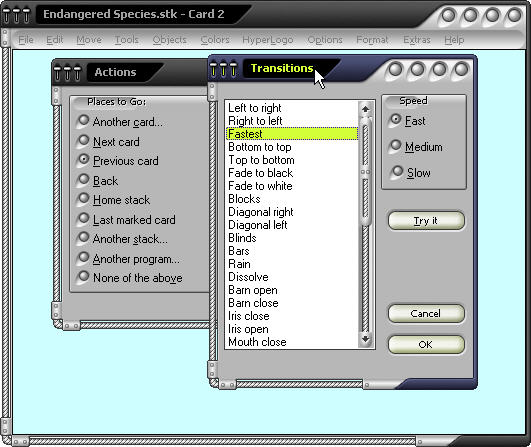 Set the Action of the Button Set the Action of the Button |
18. Test your button by clicking on it. Once at card 1 click on the Objects Menu and choose Add A Button. 19. Under Type select the top right button. 20. Next to Name type Go Forward. 21. Click on Show Icon and select hand pointing towards the right and then click on OK. 22. Choose a color for your Name and a color for your background and then click OK. 23. Click OK again. 24. Place your pointer in the middle of the box and while holding the mouse button down, drag the button to the bottom right hand corner. 25. Click outside of the button. 26. Under Places to Go select Next card. 27. In the Transitions box choose Barn Open and then click OK and then Done. 28. Test your button by clicking on it. 29. Return to Card One. |
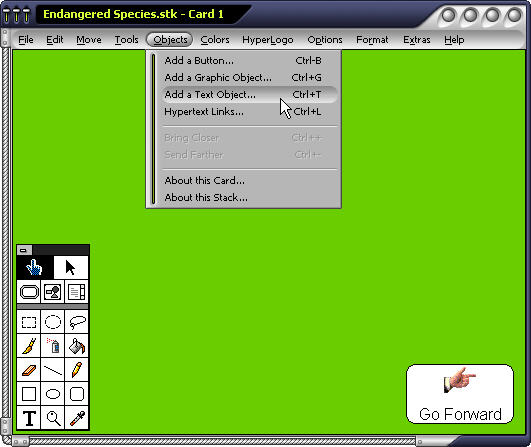 Add a Text Object Add a Text Object |
Adding a Text Object: 30. Click on Objects Menu and select Add a Text Object and click OK. 31. Drag the box to the top middle part of the screen. 32. Move your mouse to the bottom part of the box and when your pointer has arrows up and down hold the mouse button down and drag the box up towards the top of the screen so that the box is about 1" wide. 33. Move your mouse to the left side of the box until the mouse has arrows pointing left and right and holding the mouse button down drag it towards the edge of the card. Do the same for the right side of the box. 34. Click outside of the box. |
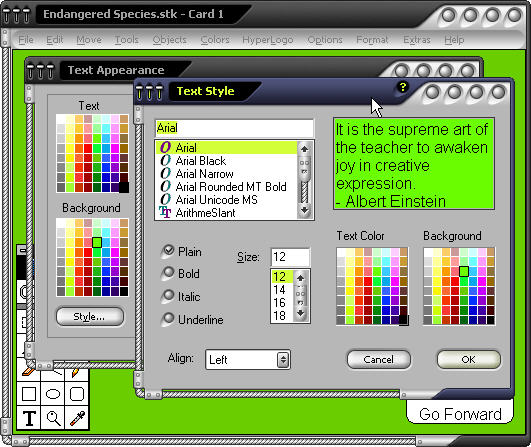 Setting the text color and style. Setting the text color and style. |
35. Select a color for your text and a color for the background that matches the color of Card 1. 36. Click on Draw scroll bar, scrollable, and draw frame so that an X does not appear in the box. 37. Click on Style 38. Click on Bold, Outline' and Shadow so that a X appears in the box next to the words. 39. Select 24 For the Size. 40. Click on Left (next to the word Align) and holding the mouse button down select Center. 41. Click OK and then OK again. |
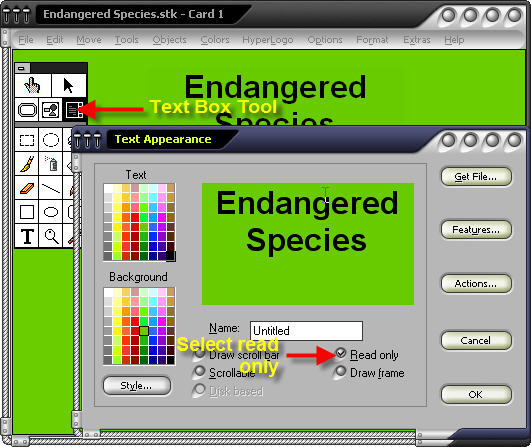 Set text to read-only. Set text to read-only. |
42. You should now see a blinking cursor in the top middle section of you card. Type HyperStudio Project 43. Click on the Tools Menu and while holding your mouse down, drag the Tool Box down to the left side of your screen. 44. Click on the Text Box tool (the one with a T inside of the box). 45. Double click on your headline and click in the box next the words Read Only and then click OK. |
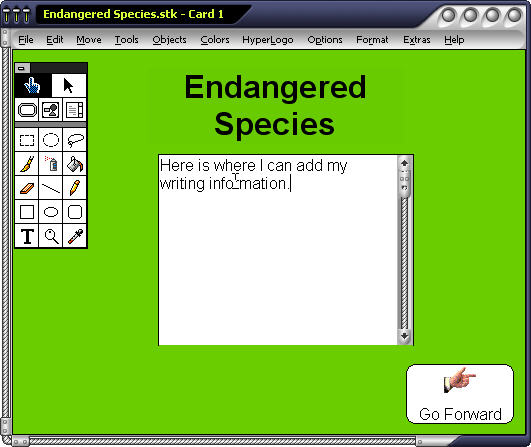 Adding a plain text box. Adding a plain text box. |
46. Select the Hand Tool and you will see that you can no longer type in the box. 47. Click on Objects and choose Add a Text Object. 48. Click outside of the box. 49. Go to Styles and click on Plain and select 12 for the size. Make sure Align shows Left. Click OK. 50. Select White as your Background Color and click OK 51. Type‑ See what I can do with HyperStudio, 52. Make this Text Box so no one can write in it. |
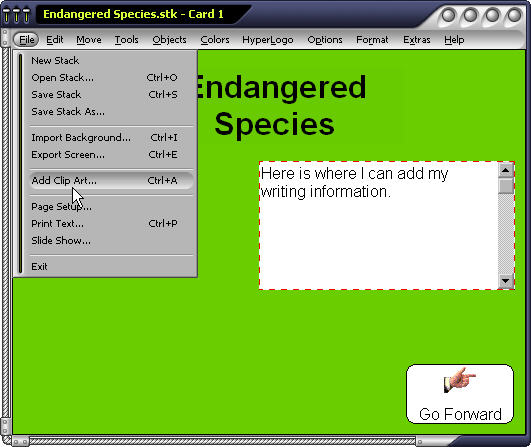 Add clip art. Add clip art. |
Add Clip Art: 53. Go to File and choose Add Clip Art. 54. Scroll down to Computer 1 and click on it and then click Open |
 Add clip art from the disk (hard drive). Add clip art from the disk (hard drive). |
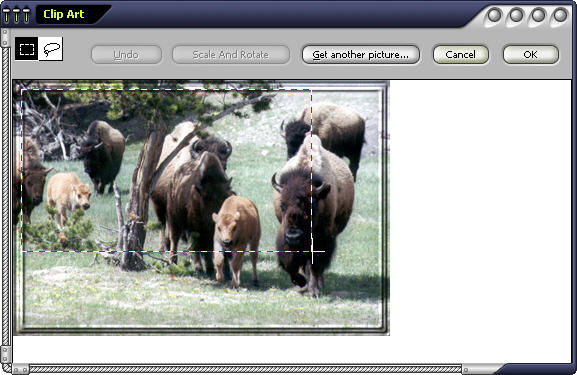
55. Using the square box (already selected hold the mouse button down and select the woman at the computer. Starting at the upper left hand corner of picture drag mouse down to the lower right hand corner past the woman. Marching ants should appear around the woman at the computer. 56. Click OK. 57. Click inside the picture and while holding the mouse down move it to the left and in the middle of the card. The Text Box should be covering part of the picture. 58. Click on the Edit Menu and choose Effects ‑ Scale and Rotate. In the Scale actor box type 50 and then click OK. Click outside of the picture. 59. Click on the Objects Menu and choose Add A Graphic Object 60. Select Addy and click Open. 61. Using the Lasso tool select a picture of Addy by holding the mouse button down while you draw a circle around Addy. The dog should have ants marching around it. Click OK. 62. Drag the dog to the right of your Text Box. Click outside of the dog. |
 Dragging to select the picture. Dragging to select the picture. |
55. Using the square box (already selected hold the mouse button down and select the woman at the computer. Starting at the upper left-hand corner of the picture drag the mouse down to the lower right-hand corner past the woman. Marching ants should appear around the woman at the computer. 56. Click OK. 57. Click inside the picture and while holding the mouse down move it to the left and in the middle of the card. The Text Box should be covering part of the picture. |
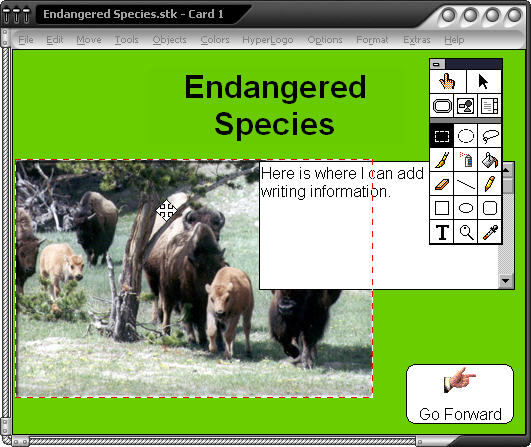 Placing the picture on the card. Placing the picture on the card. |
|
 Resizing the Picture Resizing the Picture |
58. Click on the Edit Menu and choose Effects ‑ Scale and Rotate. In the Scale actor box type 50 and then click OK. Click outside of the picture. 59. Click on the Objects Menu and choose Add A Graphic Object 60. Select Addy and click Open. 61. Using the Lasso tool select a picture of Addy by holding the mouse button down while you draw a circle around Addy. The dog should have ants marching around it. Click OK. 62. Drag the dog to the right of your Text Box. Click outside of the dog. |
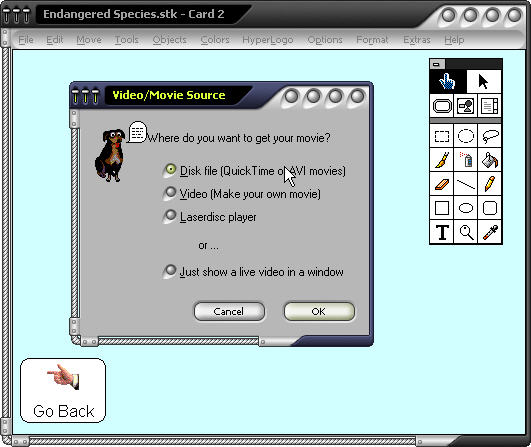 Adding a video clip, Adding a video clip, |
Add a movie clip: 63. Click on the Objects Menu and choose Add A Button. 64. Under Type select the one with the marching ants(lnvisible button). 65. Make sure the Show Name and Highlight buttons are not marked. 66. Click on Show icon and select little apple film strip and then click on OK 67. Place your pointer in the middle of the box and while holding the mouse button down, drag the button to the middle of your screen. 68. Click outside of the button. 69. Under Things to Do, select Play a movie or video. 70. Click OK. 71. Select Saturn Movie, make sure the Show Preview box has a X in it , and then select Open. |
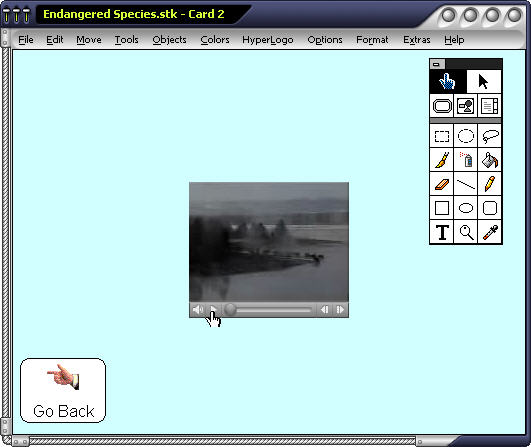 Playing your video. Playing your video. |
72. The movie should now appear on your card. Click outside of the movie. 73. Click on box next to Show first frame and then click OK and then click Done. 74. Click on the little filmstrip and test out your movie! |
 C
C